Specifications
Step 1: Create a Storage Account and Generate a SAS Key
-
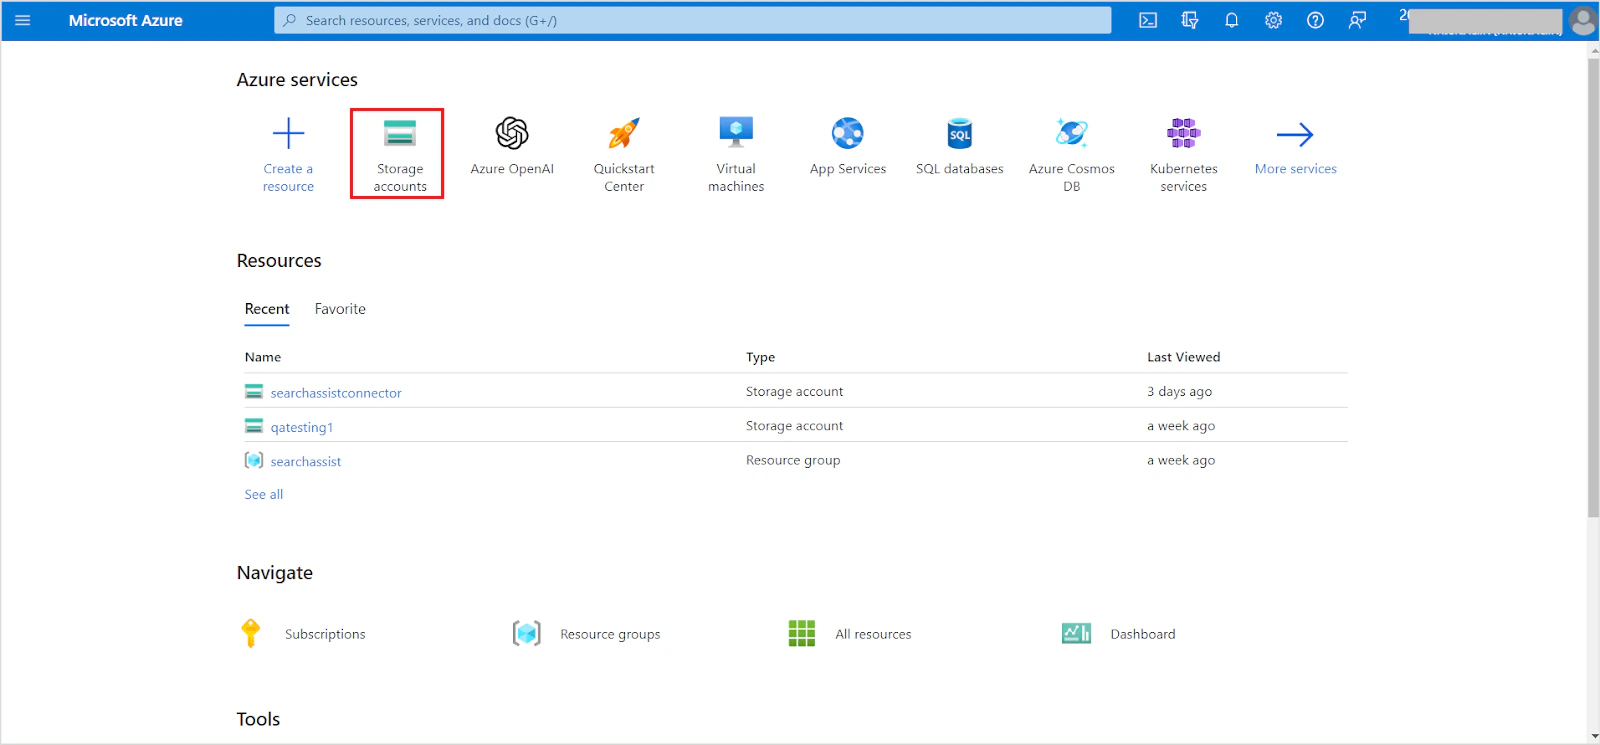
Log in to the Azure portal and go to Storage Accounts.
-
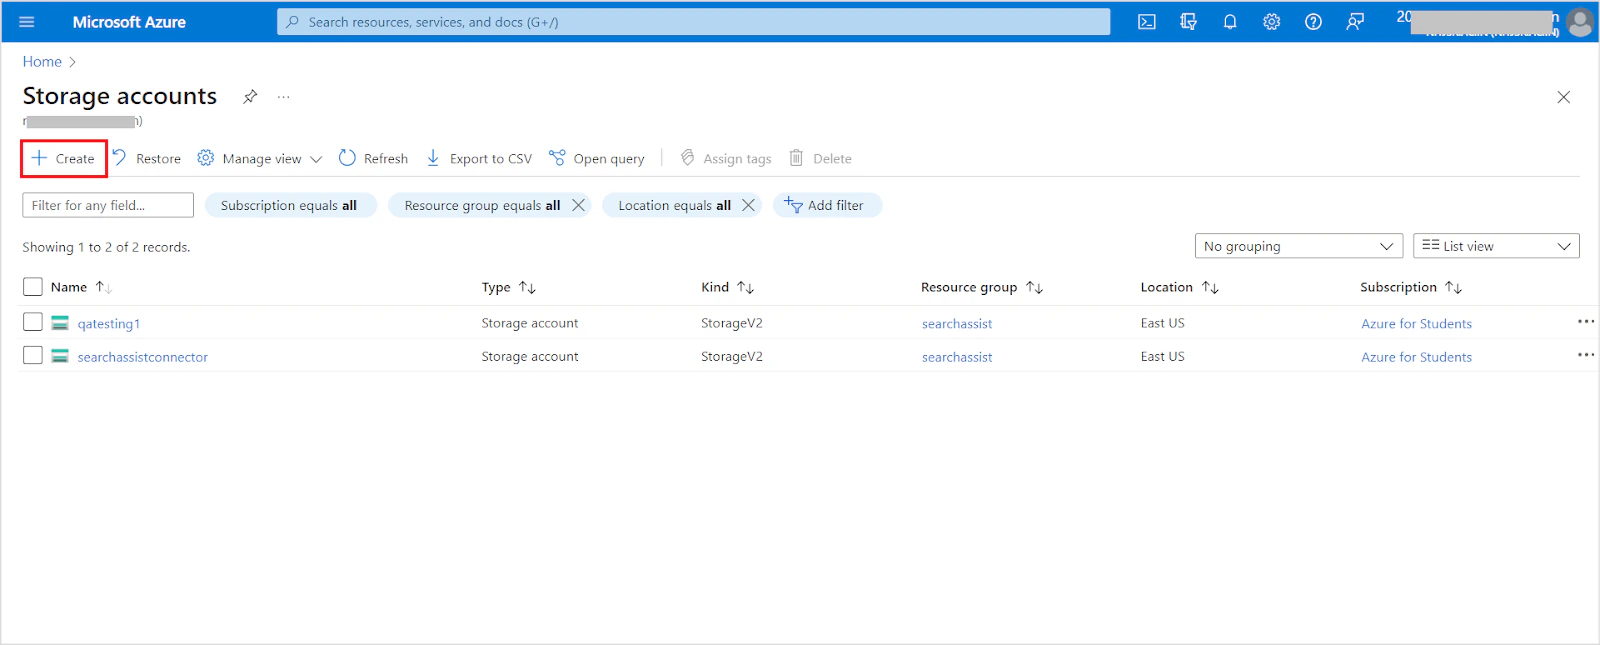
Click Create to create a new storage account.
-
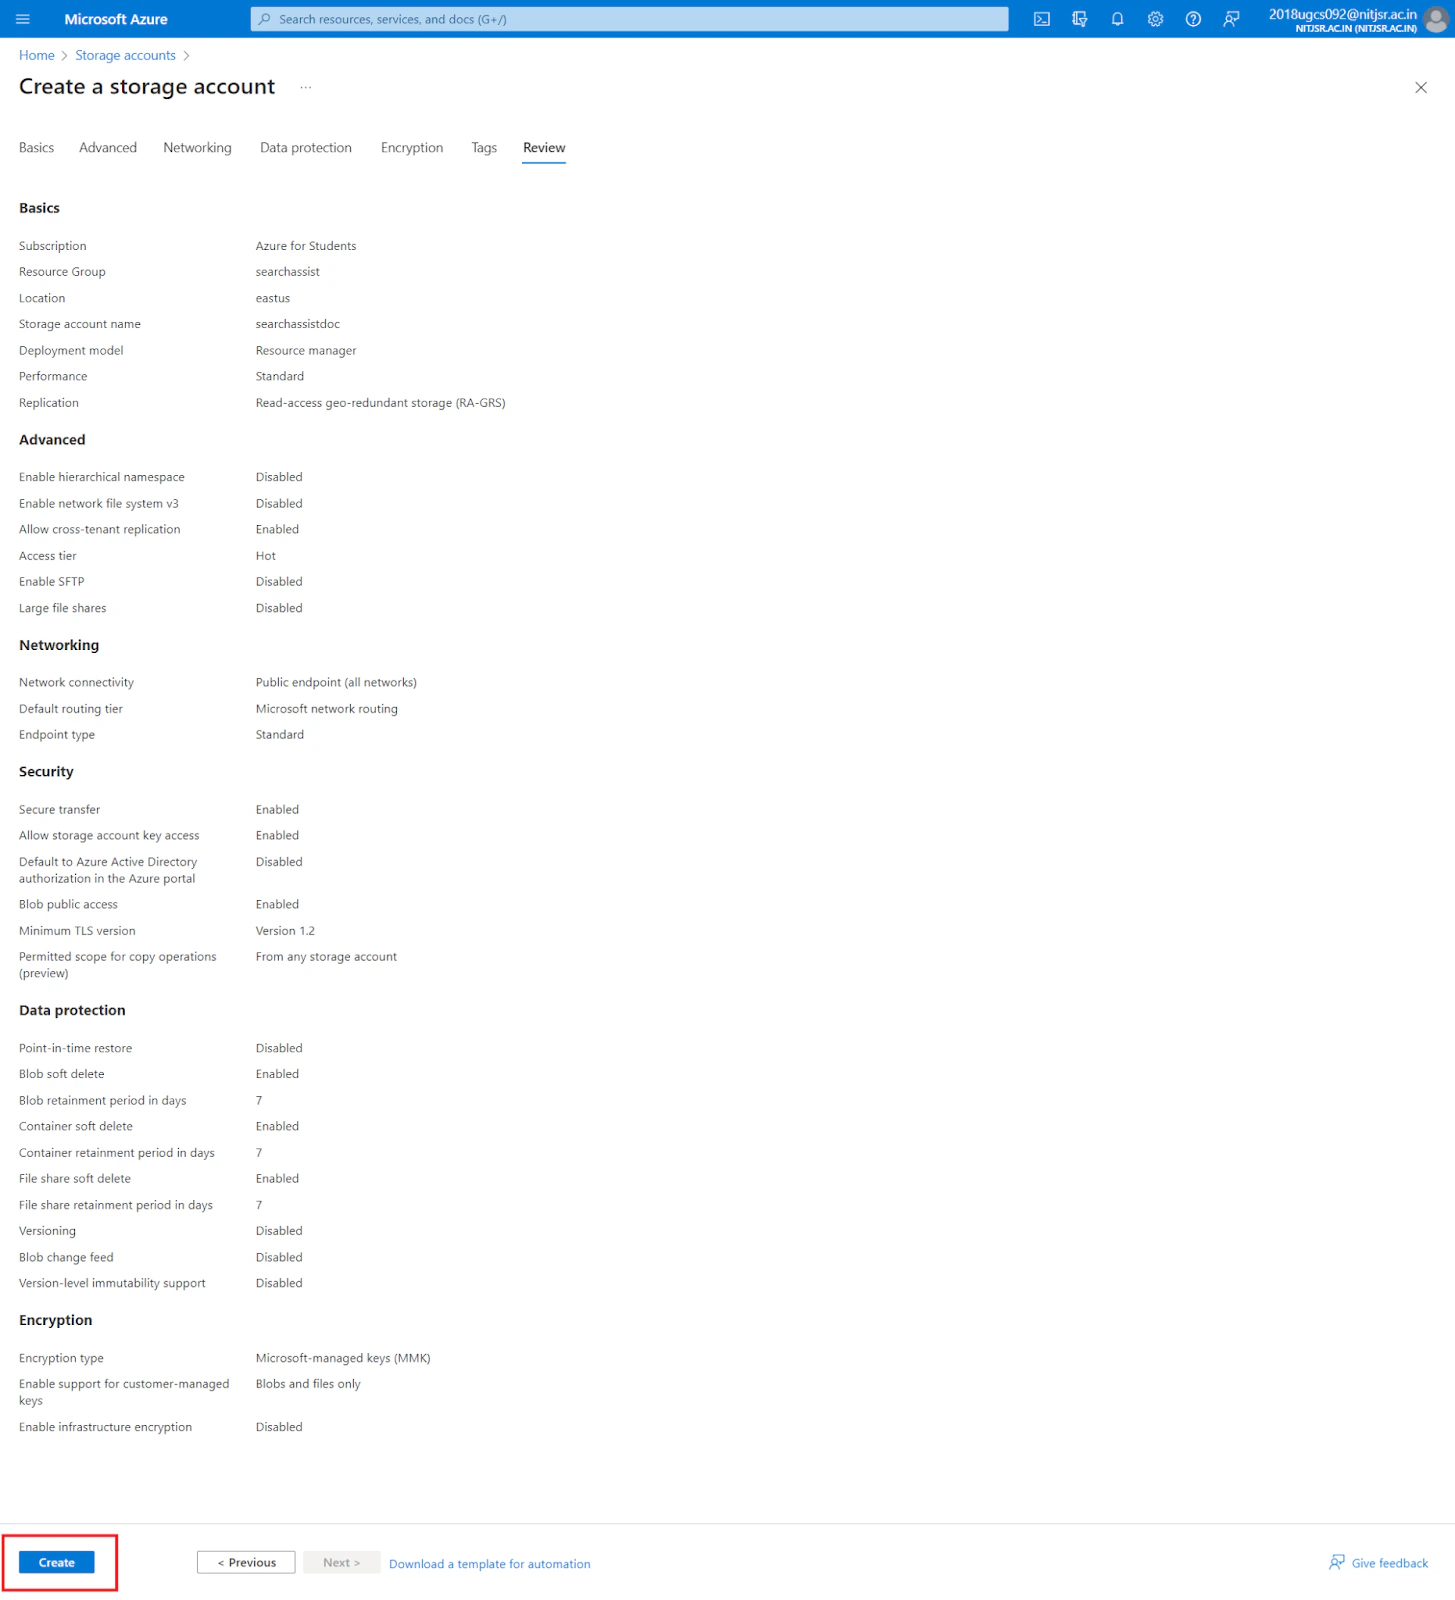
Fill in the required project details (security, access protocols, networking, encryption, etc.). For field descriptions, see the Azure storage account creation guide. Click Create.
-
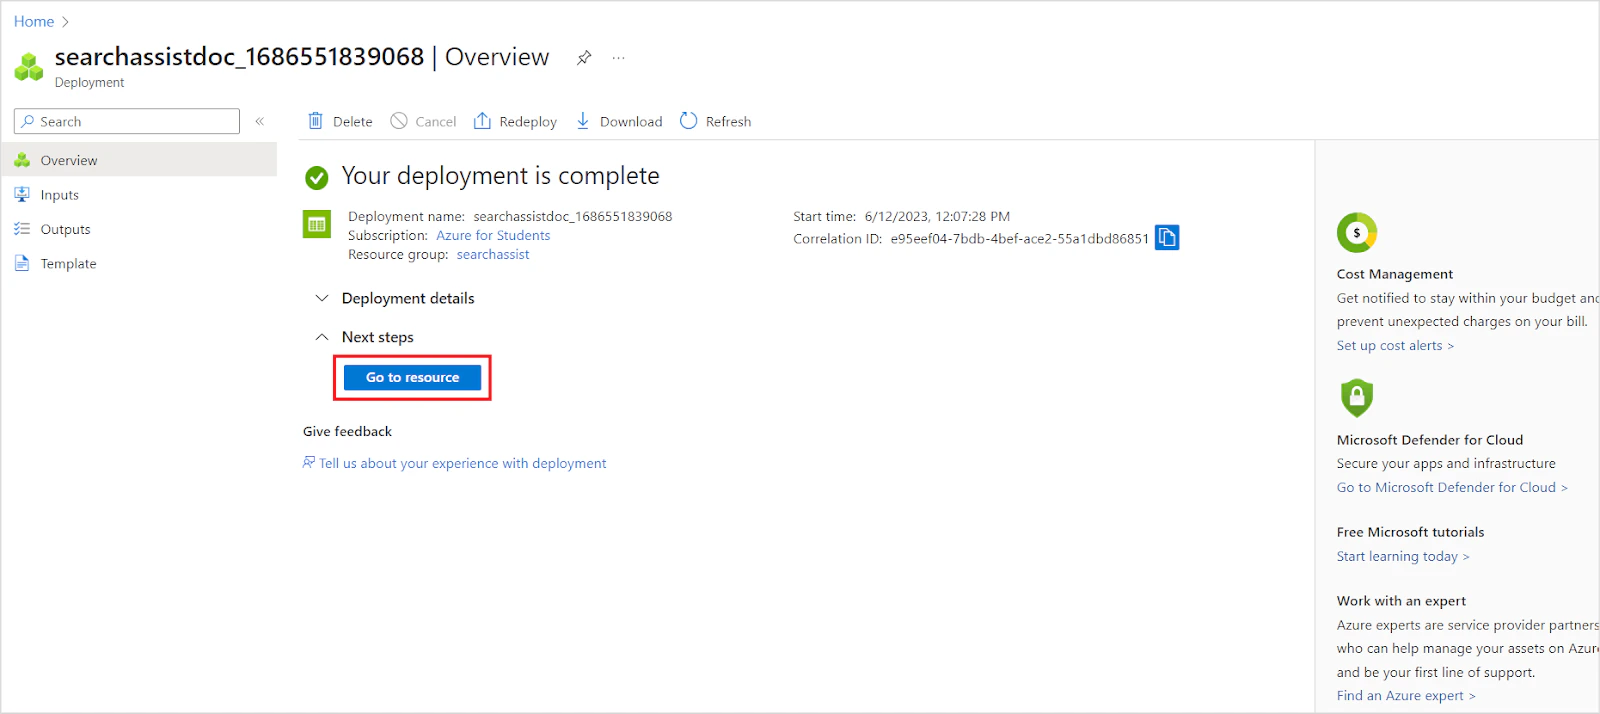
After deployment completes, click Go to resource.
-
Review the storage account overview.
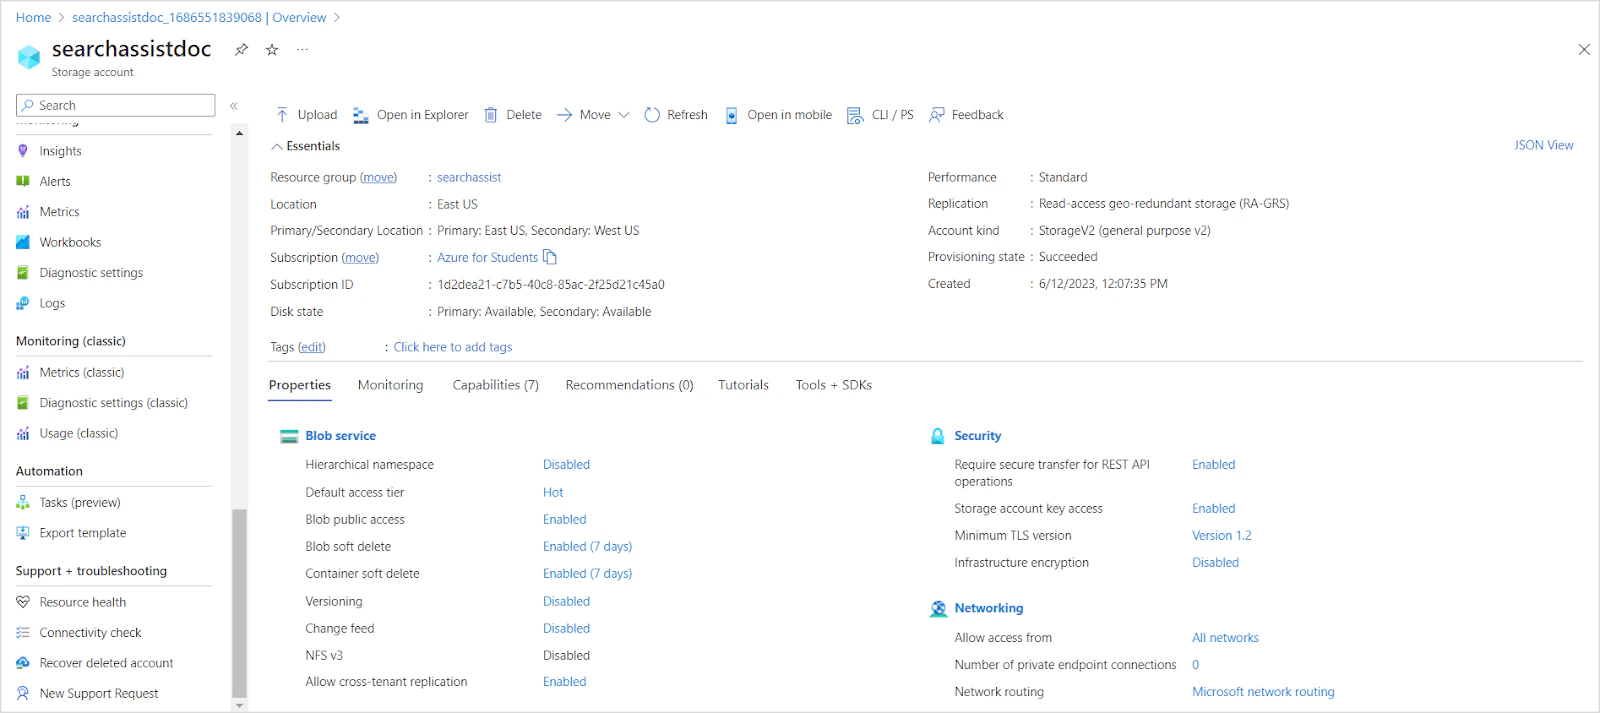
-
In the left navigation menu, go to Shared access signature. Configure the following minimum permissions, then click Generate SAS and connection string.
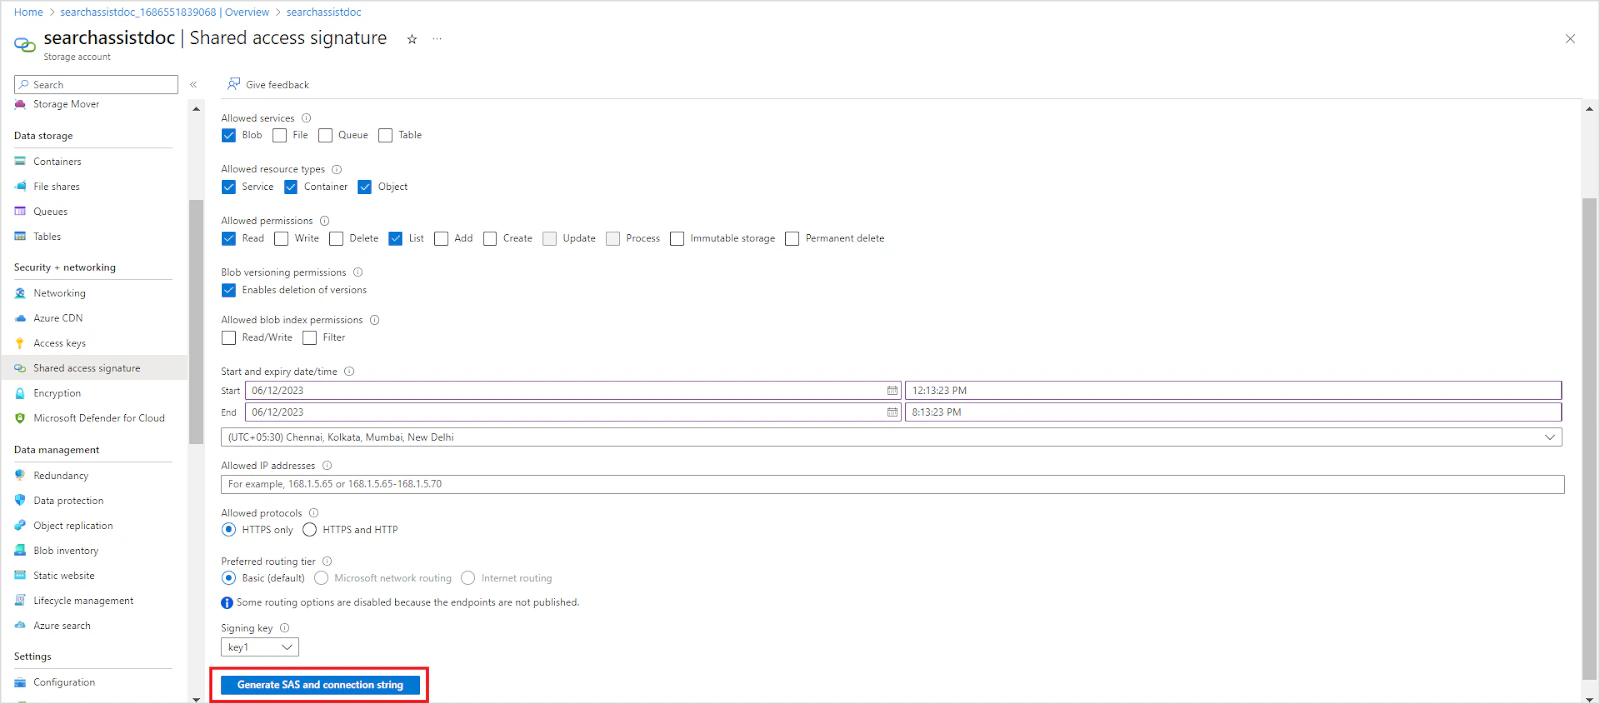
- Allowed resource types: Service, Container, Object
- Allowed permissions: Read, List
-
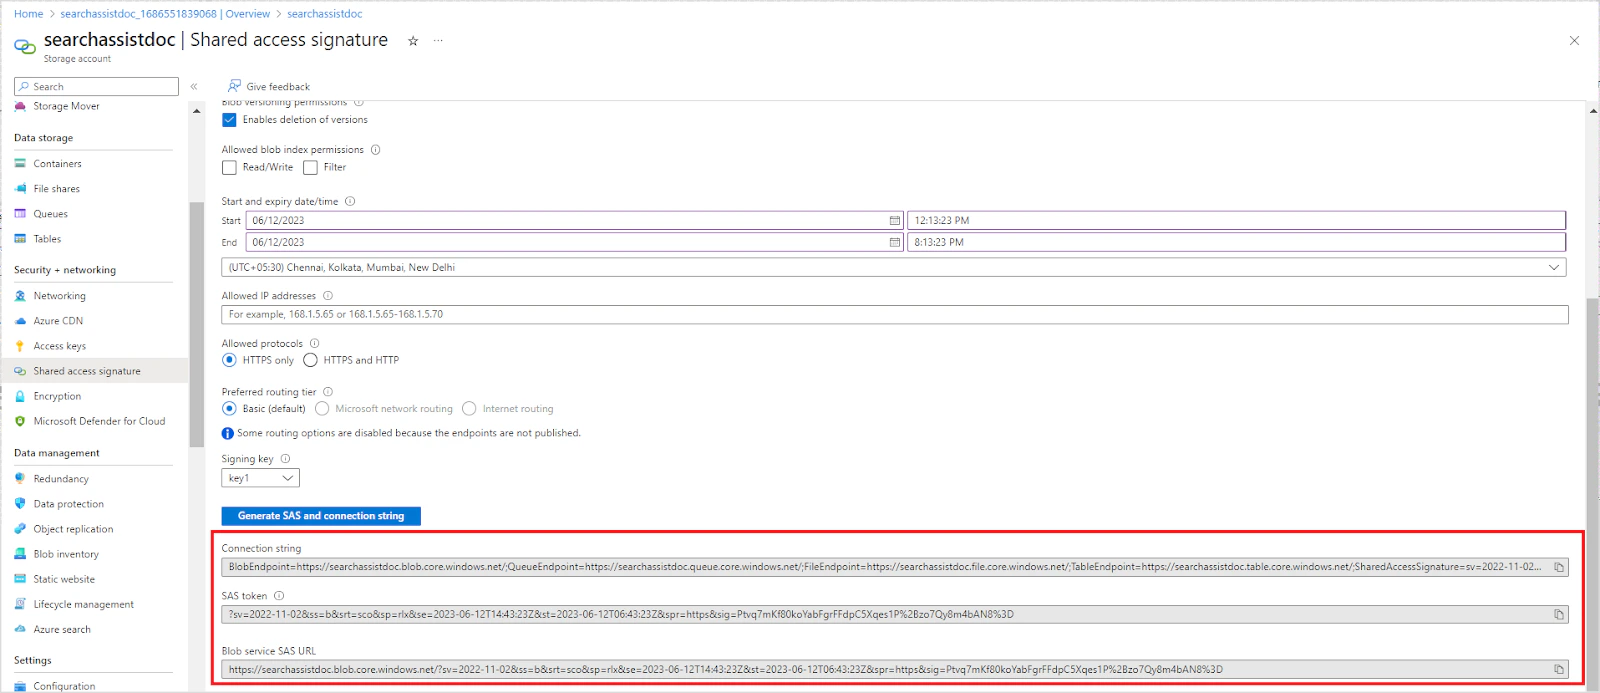
Save the generated connection string, SAS token, and blob service SAS URL — you will need these in Step 2.
Step 2: Configure the Azure Connector in Search AI
Set Up the Connection
-
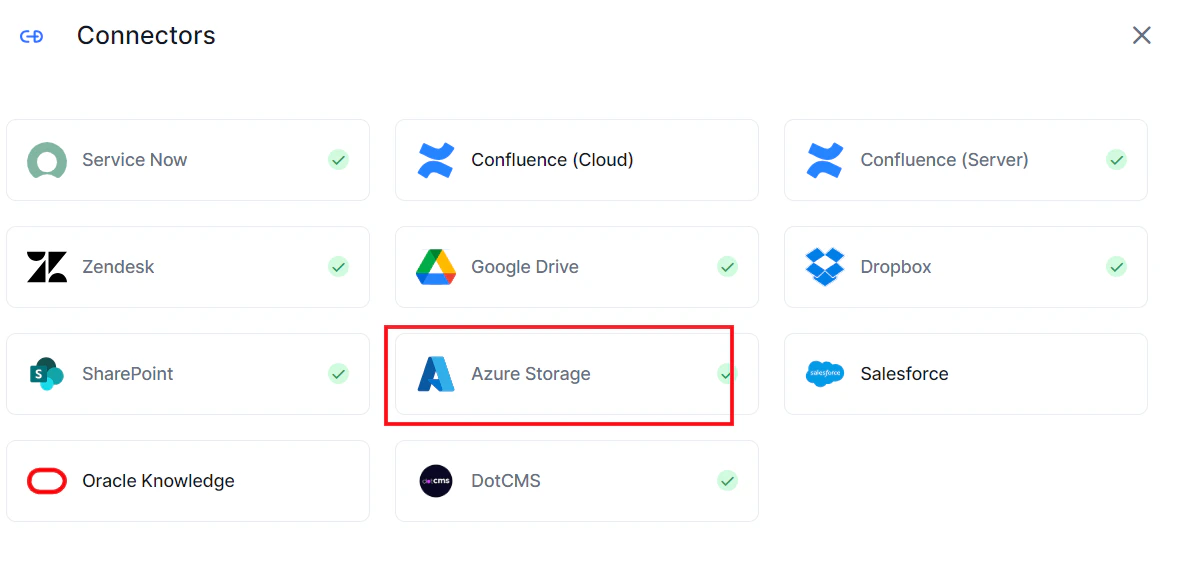
Go to Content > Connectors, click Add New Connector, and select Azure Storage.
-
On the Authorization tab, enter the following fields and click Connect.
On successful authentication, the connector status changes to Connected.
Connecting does not trigger content syncing automatically.
Content Synchronization
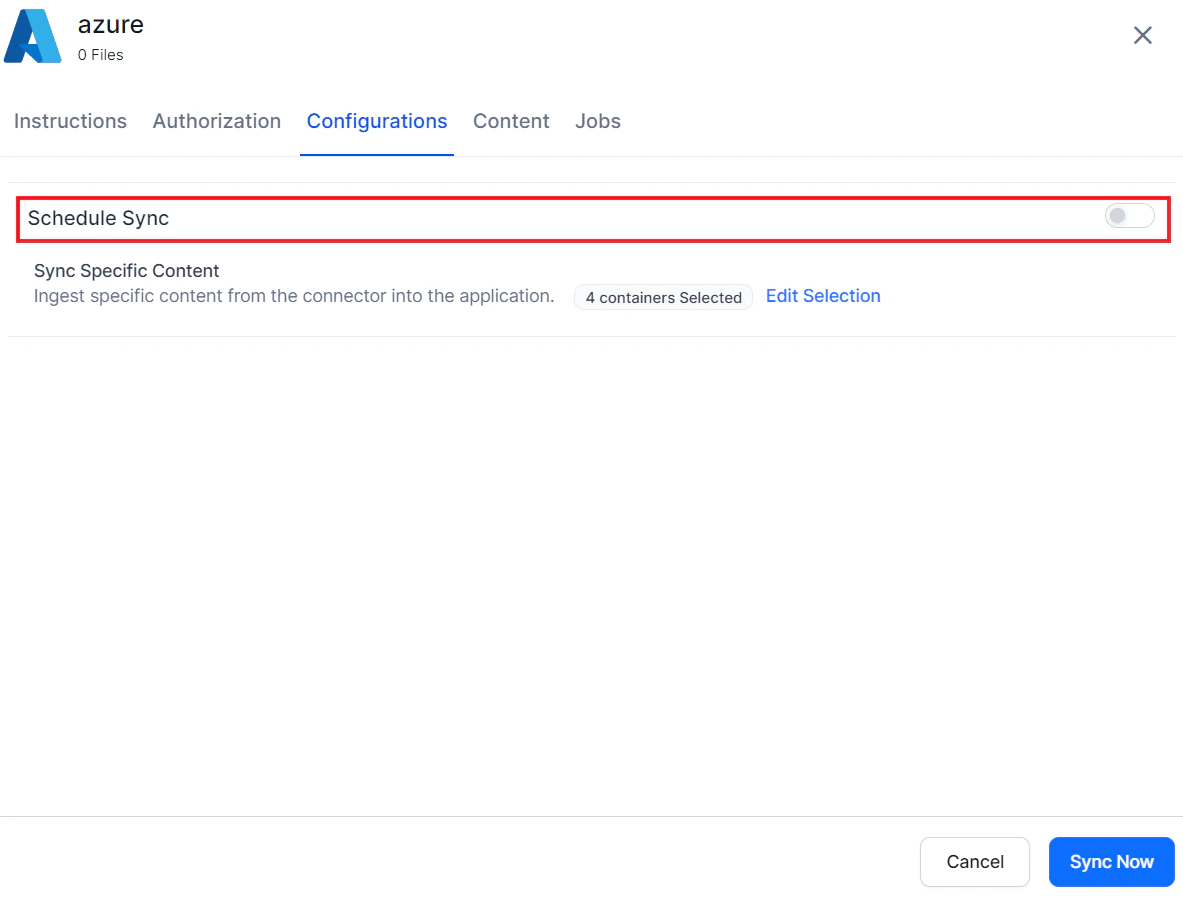
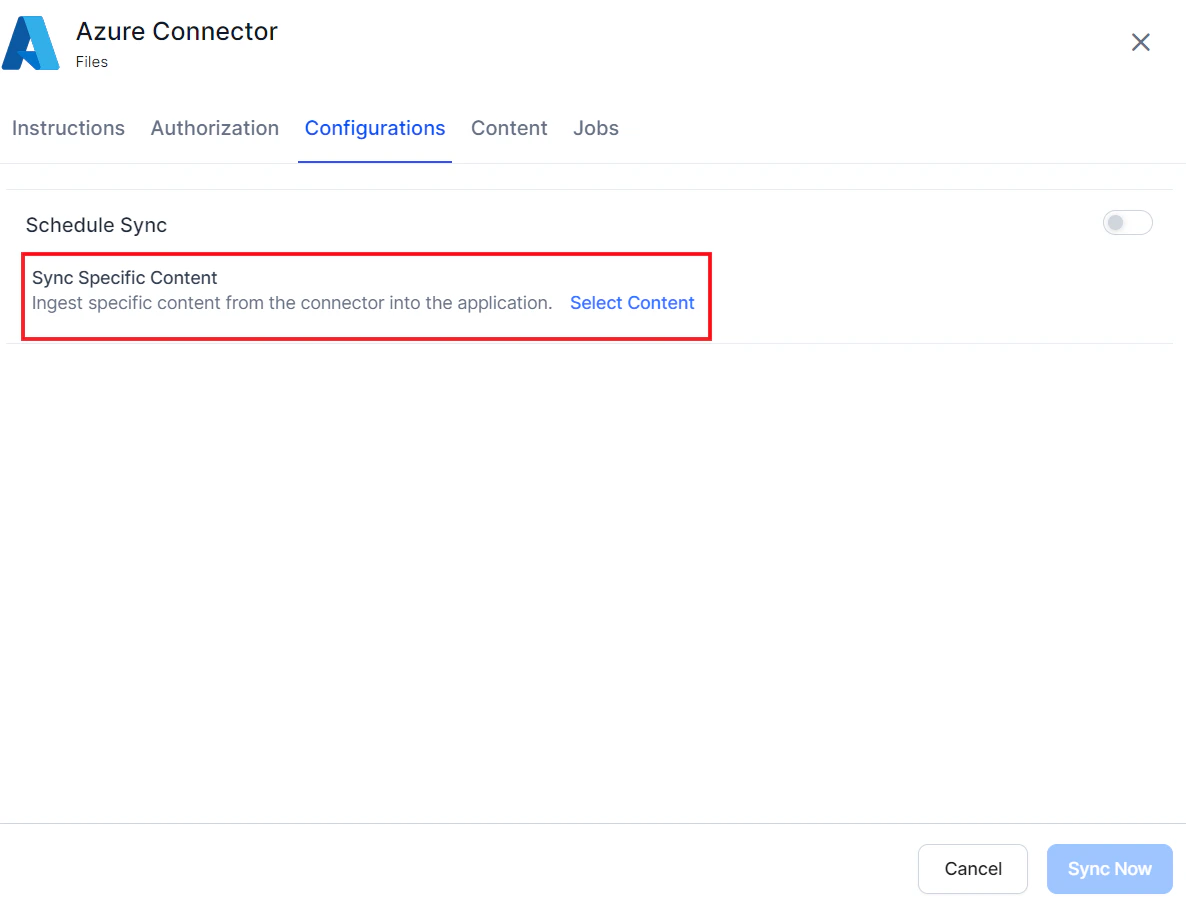
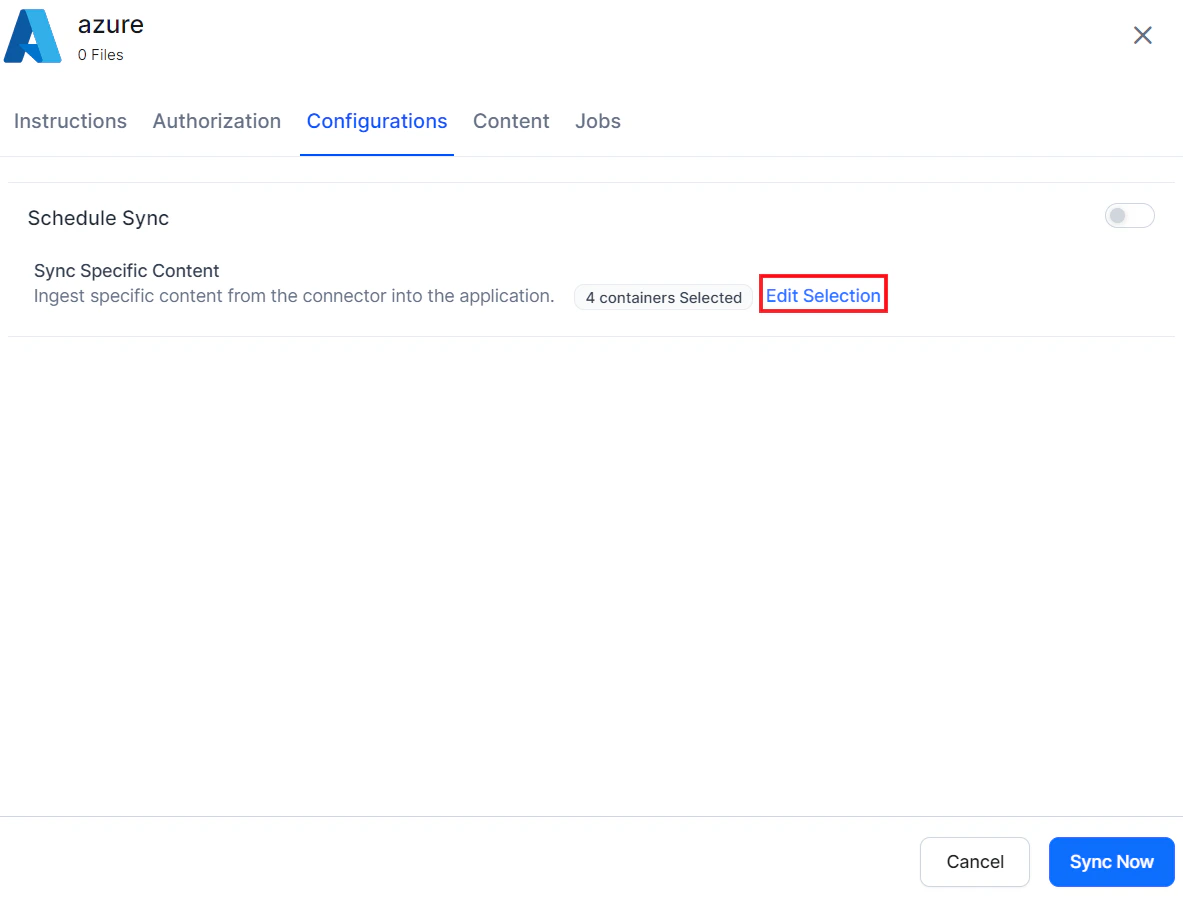
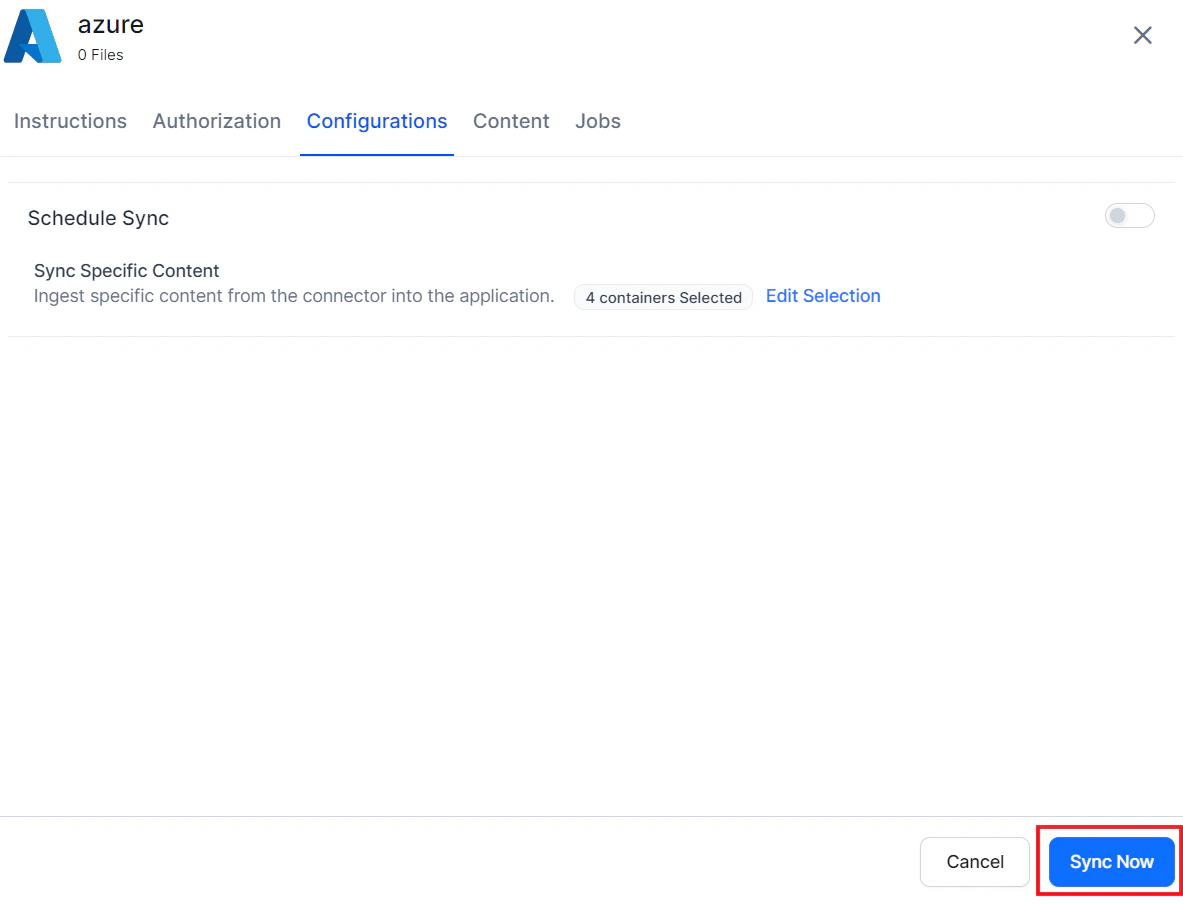
Go to the Configurations tab to set up synchronization.-
Manual sync: Click Sync Now at the bottom of the page.
-
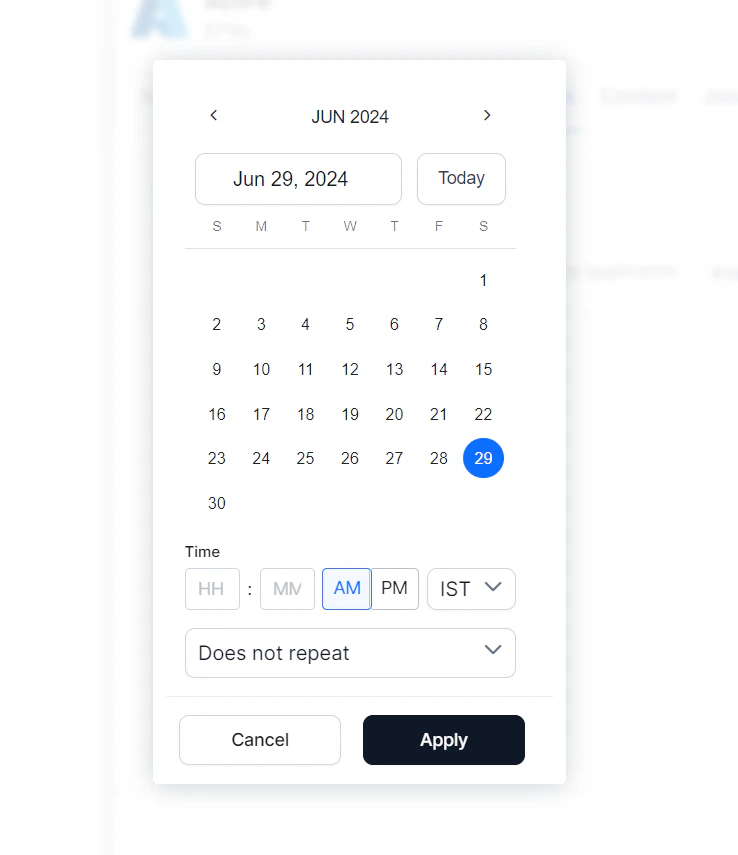
Scheduled sync: Enable the Schedule Sync option and set the date, time, and frequency.