

Access Audit Allocations
Navigate to Quality AI > AutoQA > Allocations > New Audit Allocation.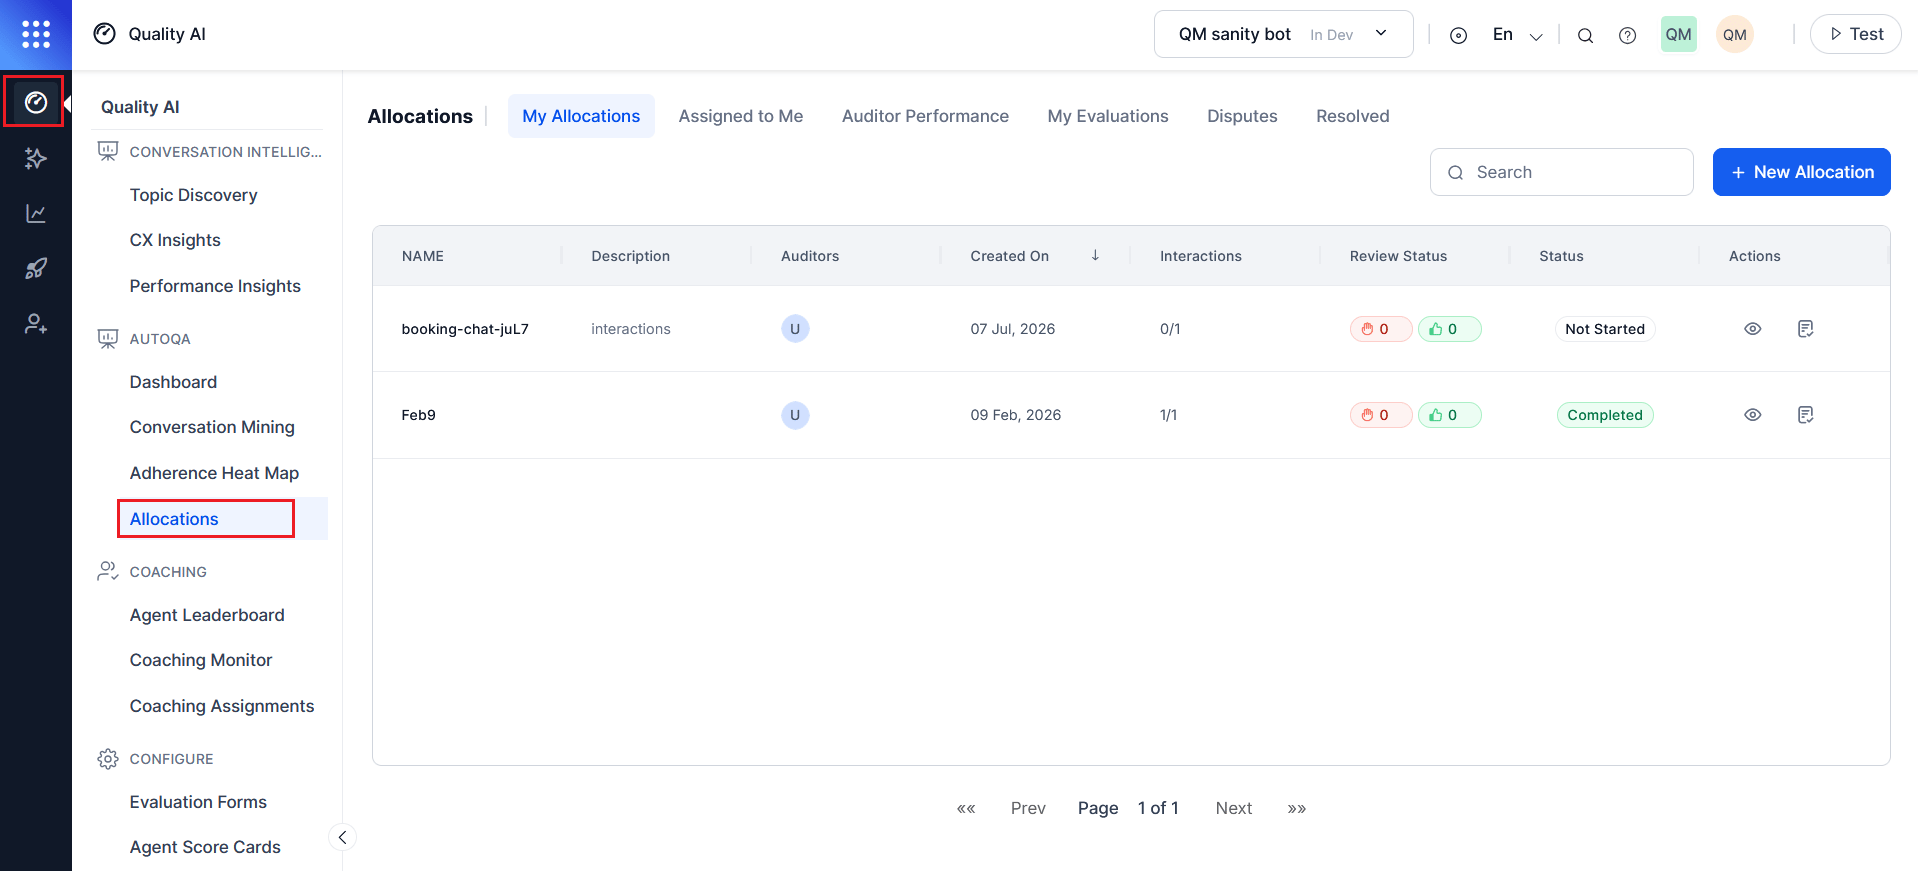
Evaluation Form Types
The selected evaluation form determines which conversations are included in an allocation. For Automation AI conversations, the evaluation form is assigned to the corresponding Experience Flow. While the allocation workflow is the same for all evaluation form types, the available allocation scope and assignment options depend on the selected form and its configuration. The allocation workflow (Settings → Allocation → Assignment) is consistent across all evaluation form types. The available queues, Experience Flows, and assignment options vary based on the available queues, Experience Flows, and assignment options vary based on the selected evaluation form and its configuration.
Before You Begin
Before creating an allocation:- Create and activate an evaluation form.
- Assign the evaluation form to the appropriate queue or Experience Flow.
- Confirm auditors have the required permissions.
- Confirm eligible interactions exist for the selected evaluation period.
Create a New Allocation
Navigate to Quality AI > AutoQA > Allocations > New Allocation.Step 1: Settings
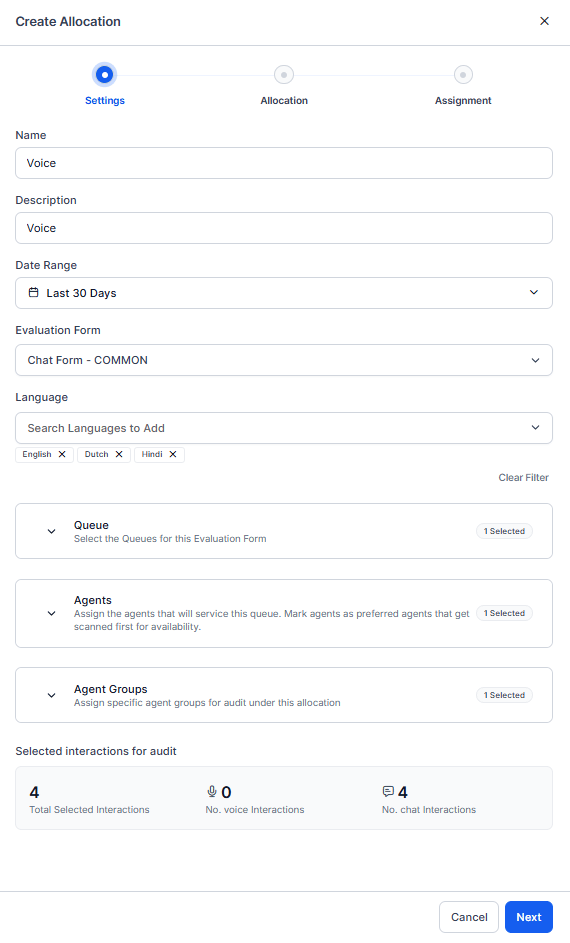
Configure the allocation details and define the interactions to include in the audit. The available Settings fields vary depending on the selected evaluation form. For AI Agent (Automation AI) evaluation forms, the system displays options applicable to AI Agent conversations instead of the queue- and agent-based options shown for Human Agent evaluation forms.
Configure Basic Information
- Select New Allocation to open the allocation wizard.
- Enter a unique Name for the allocation.
- (Optional) Enter a Description to identify the allocation.
- Select the Date Range from which the system retrieves eligible interactions.
- Select an Evaluation Form. The selected evaluation form determines the available languages, queues or Experience Flows, agents, and other allocation options.
- Select one or more Languages to limit the allocation to interactions in those languages. The available languages depend on the selected evaluation form.
- Select one or more Queues associated with the selected evaluation form. This field is available for Human Agent evaluation forms.
- (Optional) Select one or more Agents to include in the allocation. Leave this field blank to include all agents in the selected queues. Users with Cross Queue Data Access can search across all queues. This field is available for Human Agent evaluation forms.
- (Optional) Select one or more Agent Groups to include in the allocation. This field is available for Human Agent evaluation forms.
- Select Next to proceed to the Allocation step.
The fields displayed in the Settings step depend on the selected evaluation form. For Automation AI evaluation forms, the system displays Experience Flow instead of Queue, Agents, and Agent Groups. The interaction counts update automatically as you modify the filters.
Step 2: Allocation Type
Choose how the system selects interactions from the filtered dataset for audit.Allocation Type
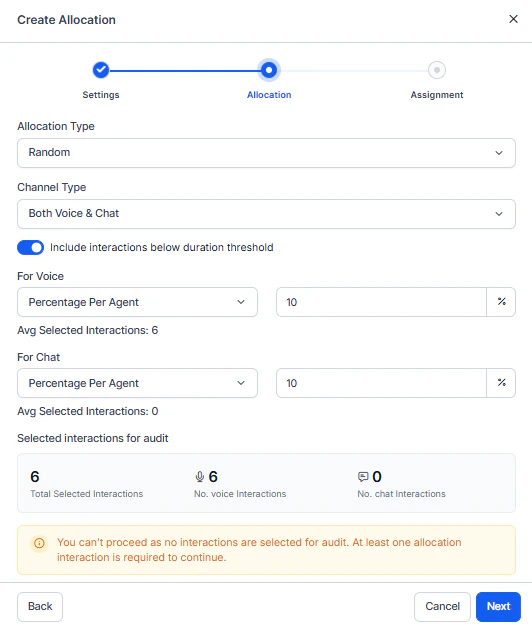
Select the allocation type to determine how the system selects interactions for the audit.Random Allocation
When you select Random, configure the following options:-
Select a Channel Type: Voice, Chat, and Both.
This Setting is configurable independently for Voice and Chat channels, enabling flexible allocation behavior across different interaction types.
-
(Optional) Turn on Include interactions below duration threshold to include interactions below the configured duration threshold.
- Off (default): The system excludes Below Threshold and Duration Unavailable contacts from the random draw pool.
- On: Flagged contacts become eligible for selection alongside evaluated contacts, so QA teams can spot-review incomplete interactions as part of the audit cycle.
-
Configure separate allocation logic for Voice and Chat interactions.
- Enter the required percentage or interaction count for each enabled channel.
- Review the Selected interactions for audit summary. The system automatically updates the Total Selected Interactions, Voice Interactions, and Chat Interactions counts based on the allocation settings.
-
Select Next to proceed to the Assignment step.
Custom Allocation
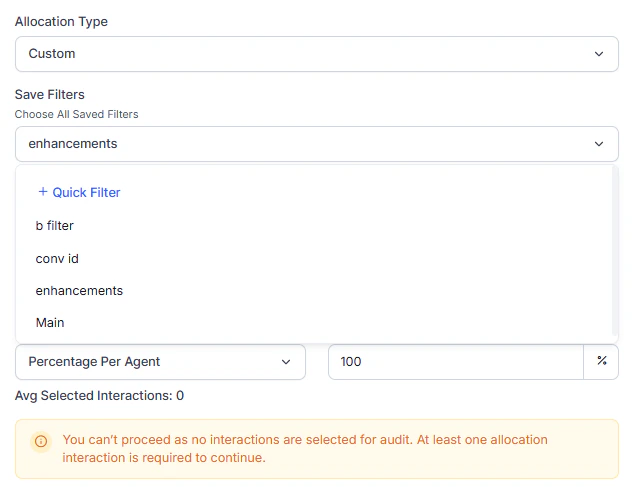
When you select Custom, configure the following options:-
Select a Save Filters source.
- Saved Filter: Select a filter previously saved in Conversation Mining. Best for recurring audit focuses or standard evaluation scenarios.
-
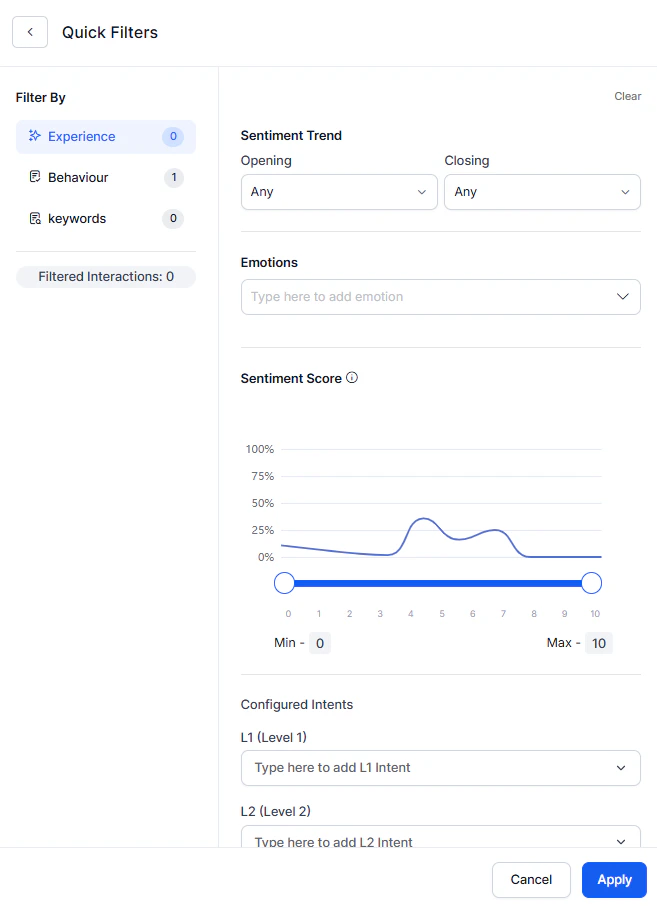
Quick Filter: Configure filters directly in the allocation workflow using full Conversation Mining options. Best for one-time allocations without saving filters.
 Select at least one interaction for audit allocation to proceed.
The interaction count updates dynamically as you adjust filters.
For more information on filter interactions, see Filter Interactions.
- All Interactions: Includes all interactions returned by the applied filters.
- Custom: Enables you to apply additional sampling controls to the filtered interaction set.
The system automatically displays the average number of selected interactions based on your configuration.
Example: Filter interactions with sentiment scores lower than 3, then allocate 5% per agent from those filtered interactions to focus on low-satisfaction conversations.
Select Next to proceed to the Assignment step.
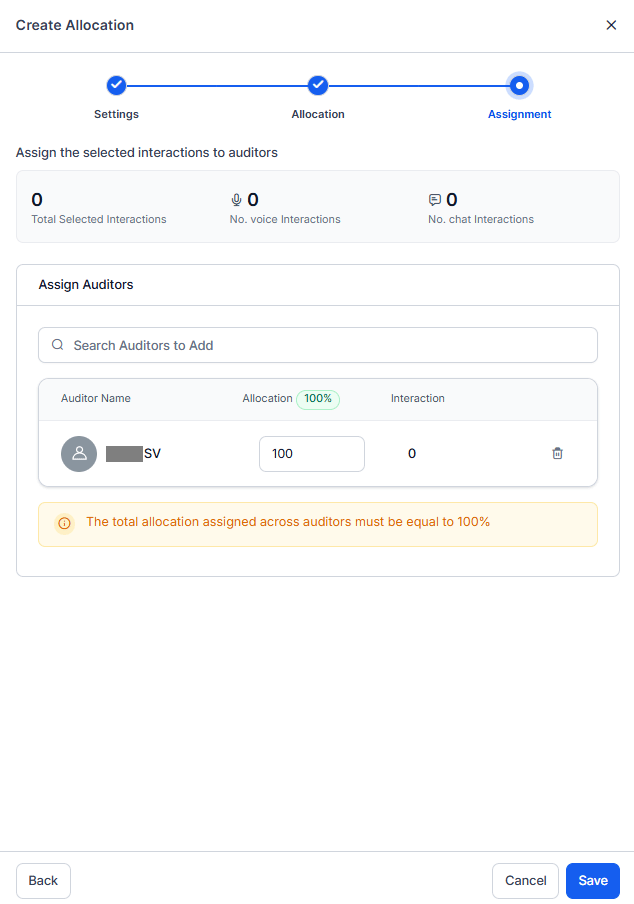
Step 3: Assignment
Distribute selected interactions across the auditor team, ensuring balanced workload and activating the allocation for evaluation.- Use the Search Auditors dropdown to select team members who evaluate interactions.
- Choose multiple auditors to distribute the workload. Consider these factors when selecting auditors.
- Enter the Allocation Percentage for each auditor. The system calculates the exact interaction count per auditor automatically.
-
Review the Interactions column, which automatically calculates the exact interaction count for each auditor based on your percentage input.
Example (100 total interactions, 3 auditors):
- Auditor A: 40% = 40 interactions
- Auditor B: 30% = 30 interactions
- Auditor C: 30% = 30 interactions
- Verify that the total equals 100%.
-
Review your complete allocation configuration:
- Settings: Form, languages, agents, agent groups.
- Allocation: Method (Random or Custom), filters, total interactions.
- Assignment: Auditors and their percentages.
- Select Save to activate the allocation.
After Creating an Allocation
- The allocation displays in your My Allocations tab.
- Auditors see their assigned interactions in Assigned to Me.
- Track completion progress in real-time.
- AI Agent evaluations are processed as system-scoped evaluation sets.
- Edit the allocation at any time to reassign pending interactions.
- You can reassign the pending interactions at any time without affecting completed evaluations.
If you enable Agent Accept & Dispute and configure disputes for the selected evaluation form, the Review Status column tracks agent acknowledgments and dispute activity for all audited interactions in the allocation.
Step 4: Dispute Allocation (Human Agent Only)
Available only when Agent Accept & Dispute is enabled.Dispute Resolution Assignment
The Dispute Resolution Assignment setting to enable or disable disputes feature for evaluations under this allocation.Dispute Routing Rule
When you enable Dispute Resolution Assignment, select how the system routes disputes for re-evaluation.Auditor List (Different Auditor Only)
When you select Different Auditor, define the pool of auditors available for dispute routing. Add Auditors- Select Search Auditors to Add.
- Search for and select one or more auditors.
- Select Add.
Allow Multi-Round Re-Disputes
The Allow Multi-Round Re-Disputes option controls whether agents can raise additional disputes after QA re-evaluation.Maximum Re-Disputes Allowed
When you enable multi-round disputes, select the maximum number of dispute rounds.
When the system reaches the limit, it changes the evaluation status to Closed and prevents any further disputes.
Dispute configuration is not applicable for AI Agent allocations.