Back to Admin Console Use the Import page to add or update multiple users at once, including profile fields such as First Name, Last Name, Department, Phone, and Job Title. If you only have email addresses, use Bulk Invite instead.Documentation Index
Fetch the complete documentation index at: https://koreai.mintlify.app/llms.txt
Use this file to discover all available pages before exploring further.
File Requirements
The import file must be a.txt or .csv file with the following format:
- First row — field headers (required)
- Required fields —
Email ID,First Name,Last Name,User Status - Optional fields —
Alternate ID,Work Phone,Title,Department - One row per user
- Valid delimiters — comma, pipe, semicolon, or tab
| Value | Description |
|---|---|
New | Create a new user account |
Update | Update an existing user’s profile |
Delete | Delete the user account |
Activate | Activate an existing account |
- Entries with invalid email formats are ignored.
- Each successfully imported new user receives an invitation email.
- Existing users aren’t sent invitation emails.
- Users with status
Activatereceive an activation notification.
Create and Upload an Import File
- In a text editor or spreadsheet, enter the field headers on the first line, then one user per line.
- Save as a
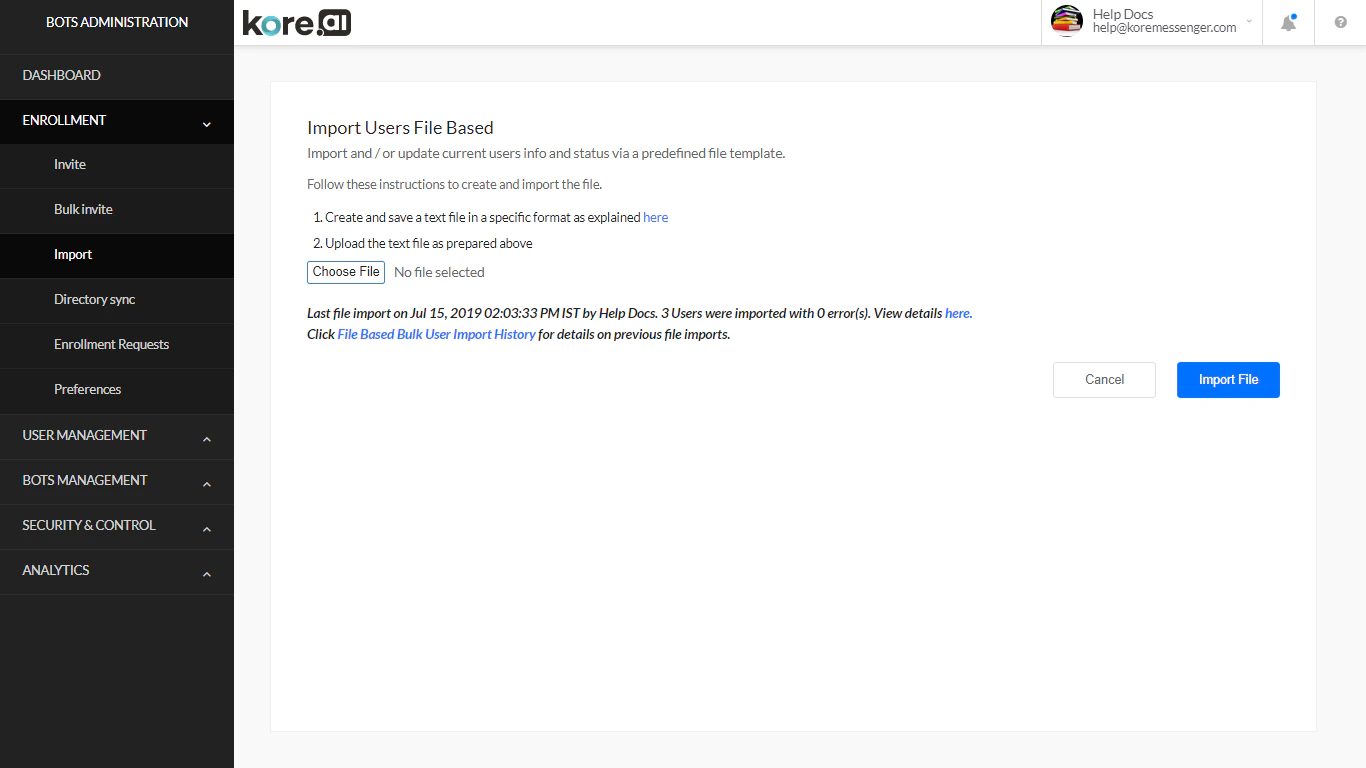
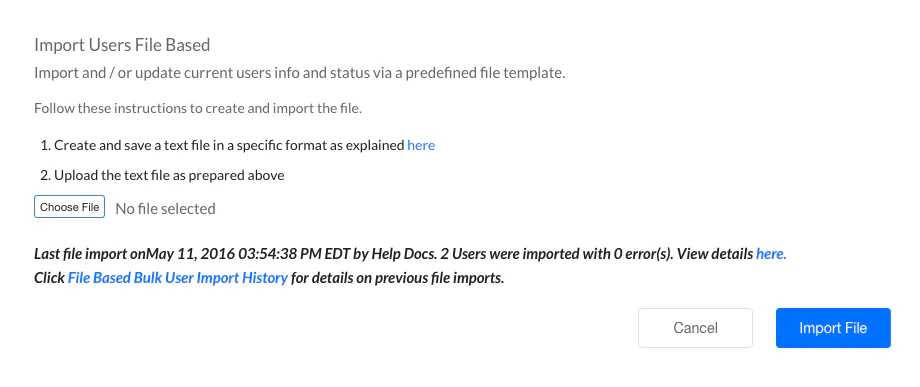
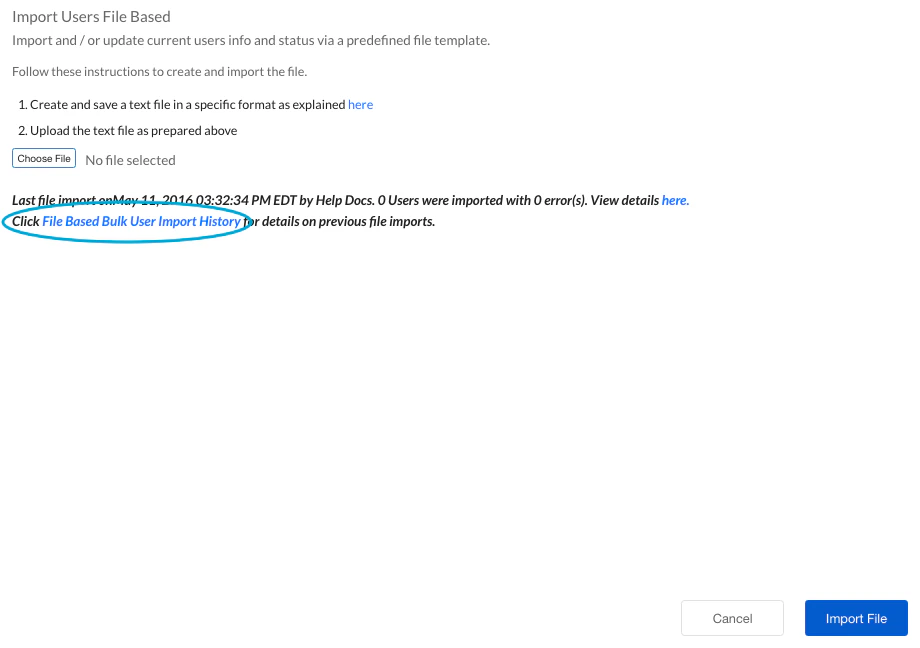
.txtor.csvfile. - In the Enrollment > Import page, select Choose File.
- Select your import file and select Open.
- Select Import File. The import status appears below the button.
- Select File Based Bulk User Import History to review prior import statuses.
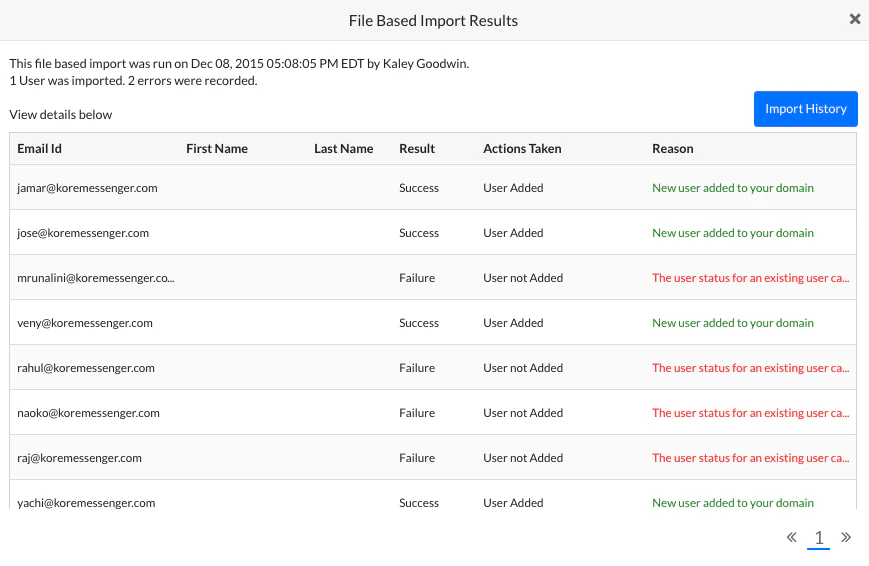
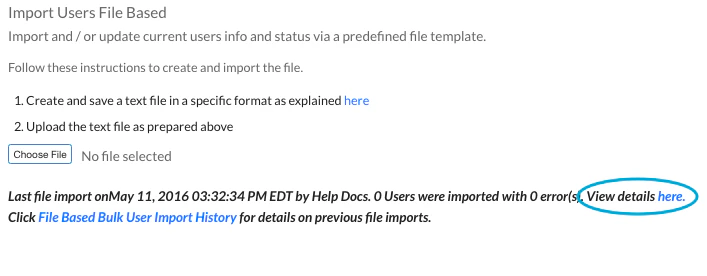
View Current Import Results
-
On the Enrollment > Import page, select the here link.
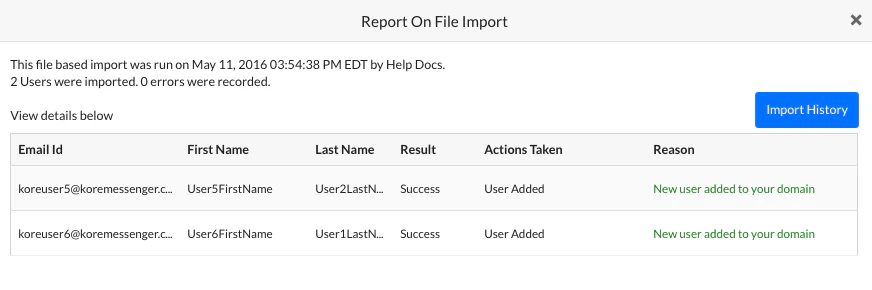
-
The Report On File Import dialog opens with per-user results.
View Import History
-
On the Enrollment > Import page, select File Based Bulk User Import History.
-
In the File Based Import History dialog, select Results in the Report column for the import you want to review.