

- Have administrative access for reading and executing actions on your LDAP server.
- Familiarity with LDAP queries and LDAP server administration.
- Have a Microsoft Active Directory LDAP Server.
Cloud-Based Connector
Configure a cloud-based connector to access your Active Directory (AD) server securely over the internet. To configure Active Directory, log on to the Admin Console and complete the following steps to access the configuration settings for your company’s Active Directory sync.-
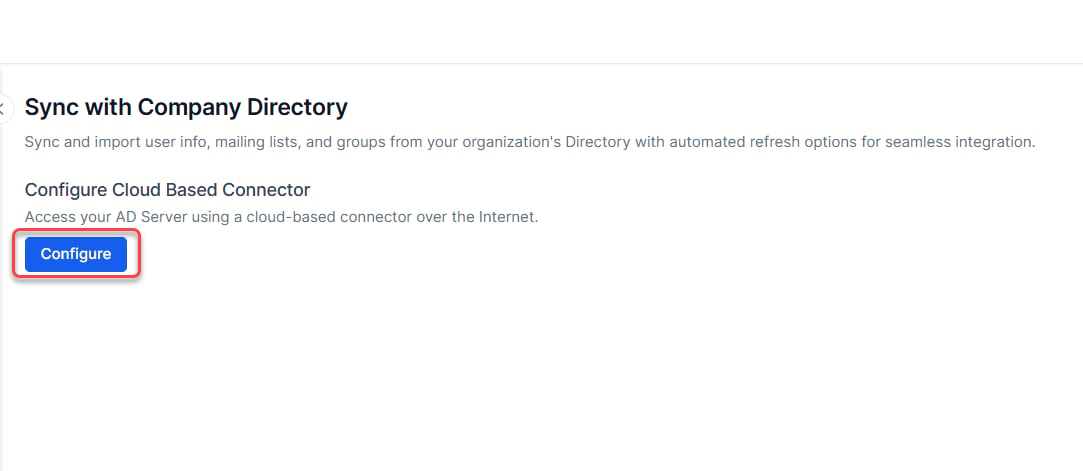
In the User Management module, on the Directory Sync page, select Configure.
-
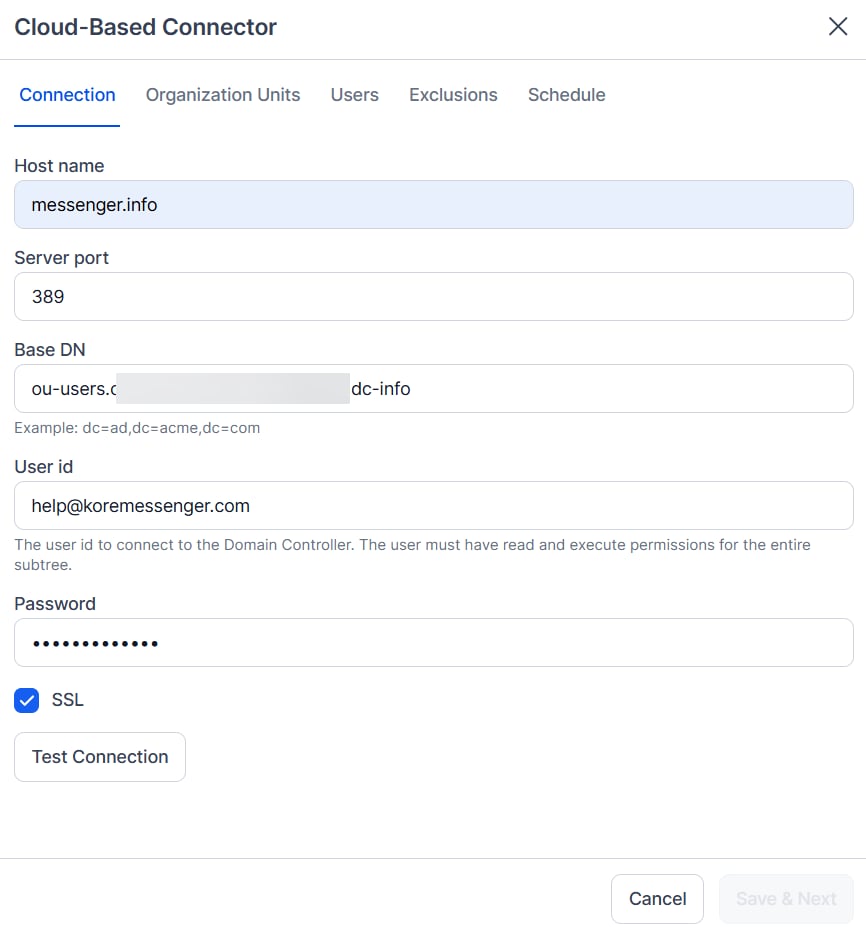
The Cloud-Based Connector dialog is displayed. Follow the steps given here to proceed.
-
On the Connection tab, define the following fields:
- Host Name: The name of the domain host, for example,
www.example.orgor10.12.6.151. - Server Port: The port number for the domain host, for example,
10042. - Base DN: The server location for users and groups in a domain, for example,
dc=kore,dc=com. - User ID: The username for authentication to connect to the domain controller.
- Password: The password for authentication to connect to the domain controller.
- SSL: Select to enable SSL for HTTPS.
- Test Connection: Select to test the authentication and host configuration settings.
- Select Save & Next to continue.
- Host Name: The name of the domain host, for example,
-
Optionally, on the Organization Units tab, you can define the Org Units that need to be imported from your company directory. Groups and sub-groups from the selected OU will be synchronized into the platform and the hierarchy of groups as present in the AD Server will be maintained in the platform.
a. You can choose to:
- Import all Organization Unit,
- Not Import any unit, or
- Import specific units.
-
On the Users tab, you can define the desired User Attributes (profile fields) that need to be imported from your company directory. You can set import criteria, inclusion rules, and exclusion rules to control the information that you want to import from your organization.
a. On the User Attributes child tab you can import the user profile information
- using predefined Default mapping of AI for Service user profile fields to relevant LDAP attributes or
- create your own custom mapping with the Customer Attribute name and values.
- Optionally, on the Exclusions tab, you can define exclusions for synchronization to prevent Active Directory from replacing specific users (default and custom), distribution lists, or organizational groups.
-
On the Schedule tab, enable and define the synchronization schedule with the Active Directory.
a. Enable Synchronization – Click to enable or disable a synchronization schedule.
b. Synchronization Frequency – Select one of:
- Daily: Specify the Start Synchronization date and time to begin the daily sync.
- Weekly: Specify the day of the week to synchronize and the Start Synchronization date and time to begin the weekly sync.
- Monthly: Specify the day of the month to synchronize and the Start Synchronization date and time to begin the monthly sync.
- Other: Specify the number of DAY(S) or WEEK(S) to synchronize and the Start Synchronization date and time to begin the sync.
- Click Save to save the synchronization settings and close the Configure Synchronization with your Company Directory dialog.
- Users who are deleted or marked as deleted in the AD Server will be deleted from the Platform as well and will be not available in the list of users during AD sync process
- The user record will be retained in the database for any cross-reference and audit purposes
- Any login attempts by such users will be blocked by the system
- Deletion would be against a specific Account to which the user belongs to. For example, if the user is part of multiple accounts, then the user will be able to access any other accounts in which the user is still an active state
-
The following user can’t be deleted from the account
- User is the Owner for one or more apps.
- User is Account Owner