Voice Automation with NICE CXOne - SIP Integration
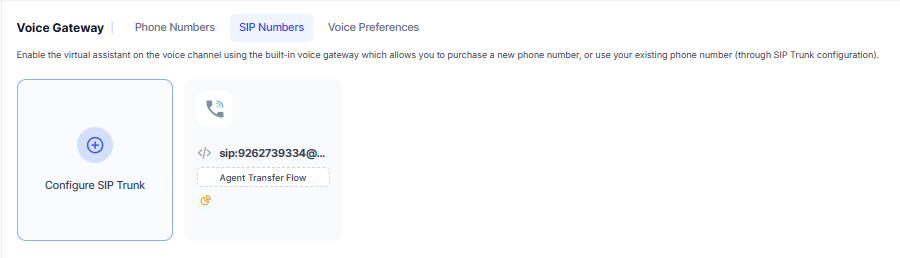
Back to Integrations ListIntegrate Kore with NICE CXOne using studio scripting to dispatch SIP headers, transfer calls from the bot, and transition to NICE CXOne after the app flow concludes. This approach doesn’t require a VAH (Virtual Agent Hub) license or proxy.
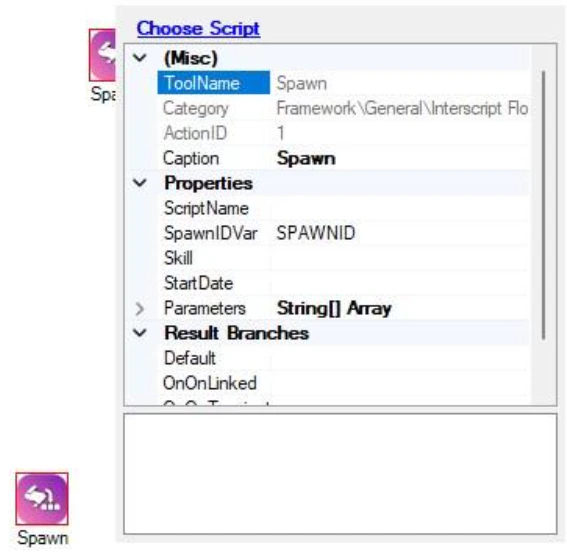
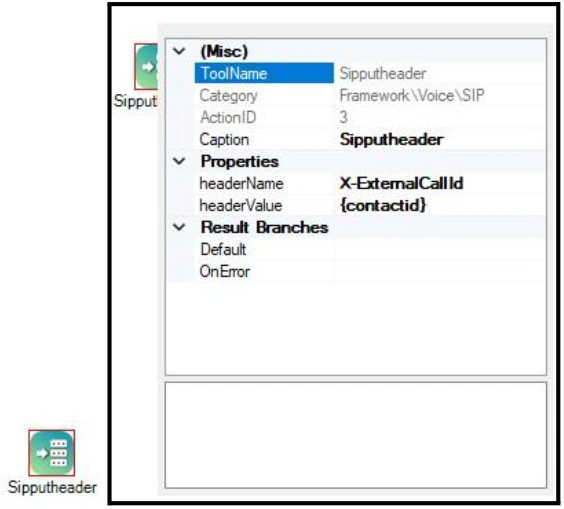
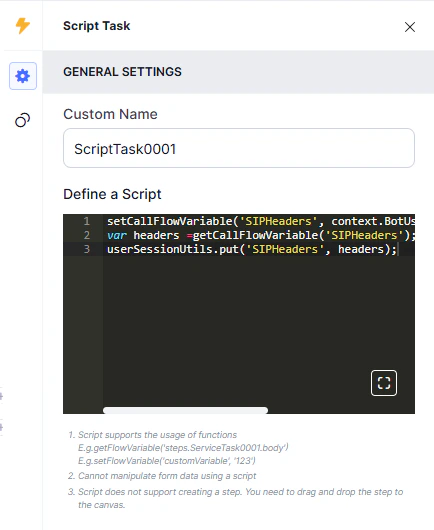
Configure a flow with an app on AI for Service. In the Script Task window, add the following code before the Run Automation action to pass SIP headers to the AI Agent:
Save the SIP header value as ContactId in BotUserSession to use when triggering the Signal API.
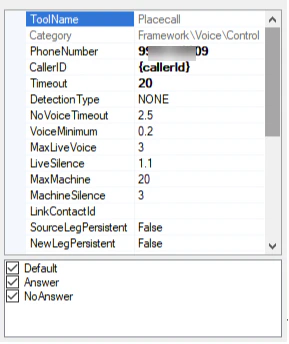
If the AI Agent triggers the Signal API to transfer to a live agent or end the conversation, the call must end from Kore, or the user must be disconnected from the Kore AI Agent and CCAI flow.
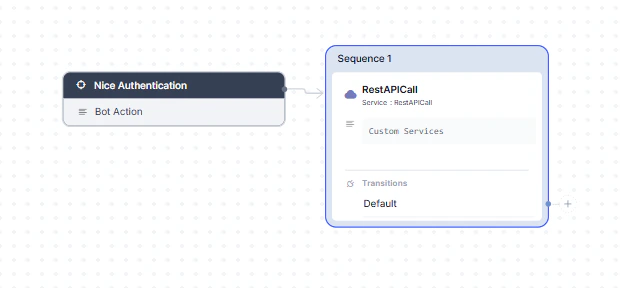
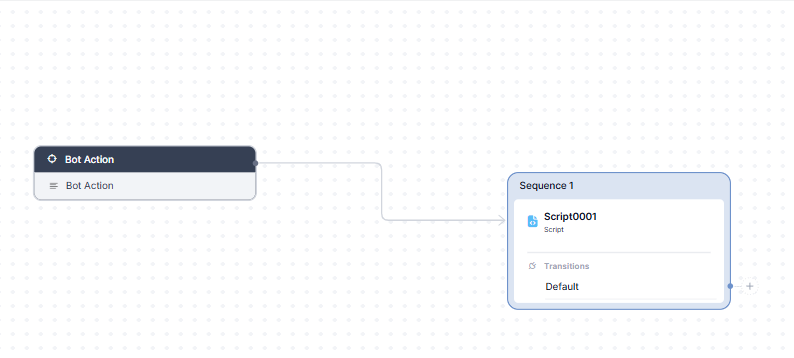
Add a bot action with a Service Node to trigger the Signal API.
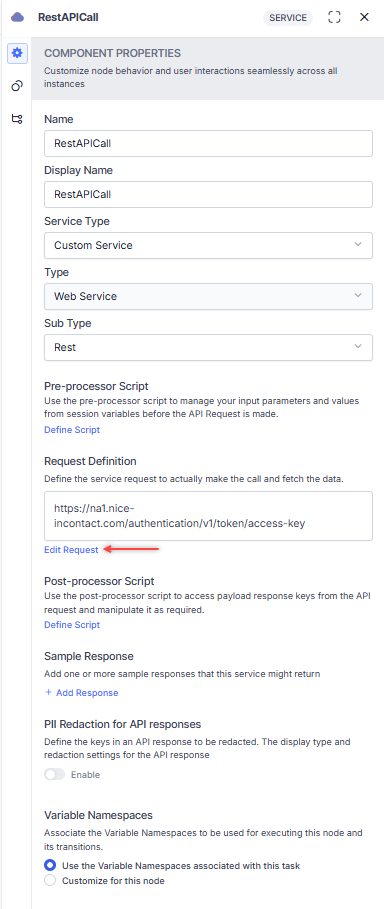
Set Service Type to Custom Service and Sub Type to REST.
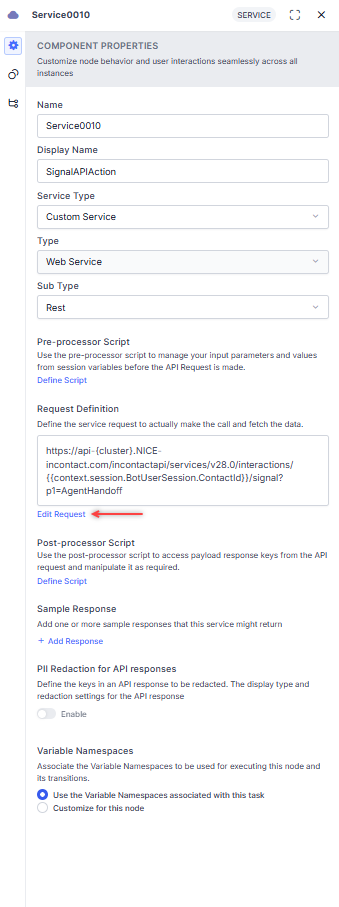
Click Edit Request, select POST, and enter the Signal API URL (replace {cluster} with your NICE cluster, for example api-b32):
POST https://api-{cluster}.nice-incontact.com/incontactapi/services/v28.0/interactions/{{context.session.BotUserSession.ContactId}}/signal?p1=AgentHandoff&p3={{context.session.BotUserSession.conversationSessionId}}
ContactId is extracted from SIP headers and stored in BotUserSession. The p1=AgentHandoff parameter triggers the agent transfer.